I repeat this every year, your welcome guys!!
Every year, countless families cringe as the annual carve the turkey debate rages on. So in the interest of harmony and Thanksgiving, here's what the pro's say.
Six steps to serving the perfect Thanksgiving bird
by Gerry Brown
Carving, and serving, the perfect turkey
Many beautiful Rockwellian Thanksgiving feasts have been spoiled when the golden brown turkey is hacked to pieces by an improperly trained carver. Whether you are looking to improve your technique, confirm that you are doing it right, or getting ready to pass the knife to Junior this year, here's a quick look at the proper way to look good slicing up and giving your family the bird.
What you'll need:
a turkey; (duh!!)
a good, long, sharp knife (an electric carving knife is nice but unnecessary and can often be more trouble than it's worth; if you're just starting out, go with an old fashioned manual model);
a carving fork;
an apron;
a spot to place the meat as it's cut.
Step One
A Perfectly Cooked Turkey
Make sure the turkey is done!
Sounds simple but several variables can conspire to throw off the pre-cooked time calculations. You want to make sure that you use a real meat thermometer, not one of those pop-up deals. Most times you'll end up with an overdone, dried out turkey and that's a nightmare for carvers. The meat will shred and crumble.
Assuming the turkey is stuffed, stick the tip of the thermometer into the stuffed cavity of the turkey. If the turkey is not stuffed, put the thermometer into the thigh pointing toward the body, but make sure it doesn't touch bone. If you are using an instant-read thermometer, don't leave it in while the turkey is roasting. The turkey is done when the thermometer says 160°F in the center of the stuffing or 180°F deep in the thigh; also, the turkey's juices should be clear, not reddish pink when thigh muscle is pierced deeply.
Step Two
The turkey is done. Now take it out of the oven and let it "rest" for 20–30 minutes on the cutting board. Wash and dry your hands and put on your apron if you haven't already. Remove the stuffing from the bird and keep it warm. You are now ready to begin carving. The first thing you'll want to do is remove the leg on one side.
Some will tell you to steady the turkey with your big carving fork and use your knife to slice between the leg and the body of the turkey. Others will say to pull the leg gently away from the turkey while you cut with the other hand. Either way, you'll want to use the tip of the knife to probe the area just above thigh to find the joint that connects the leg to the turkey. That's the magic slice point.
Once you find the joint, cut it firmly but smoothly. Usually it will cut through with relative ease but if not, check to make sure you are not trying to cut through bone. Once you get the leg off the bone you can cut some meat off the leg. But first separate the thigh from the drumstick by cutting through the joint that connects them. The thigh is simple to carve—just slice the meat parallel to the bone.
A lot of people just leave the drumsticks intact because that's the way the kids like them. But if you want to carve them, here's how: hold the drumstick by the small end and rest the big end on the cutting board and slice downward. Don't try to get slices that are too thin. Go for medium-sized pieces.
Step Three
Before you attempt to carve the breast you need to cut off the wings. Do this in the same way you did the legs. Find the joint near the turkey's body and cut through the magic slice point.
Step Four
Carving A Perfectly Cooked Turkey
Now, this is one of the most crucial and controversial steps. There are two general schools of thought on the best way to carve the breast. Most people like the white breast meat, so this is the step that makes or breaks your carving reputation.
There is the traditional method, in which one cuts the breast one slice at a time away from the bird. Another method, sometimes called the "kitchen method" because it is usually done out of view of the guests, involved cutting the entire breast away from the bird and then slicing it into pieces.
The traditional method is a little easier and by far the most popular. In the kitchen method you may be able to regulate the thickness of each individual slice a little better, but it should be done by only those who have mastered the traditional method first.
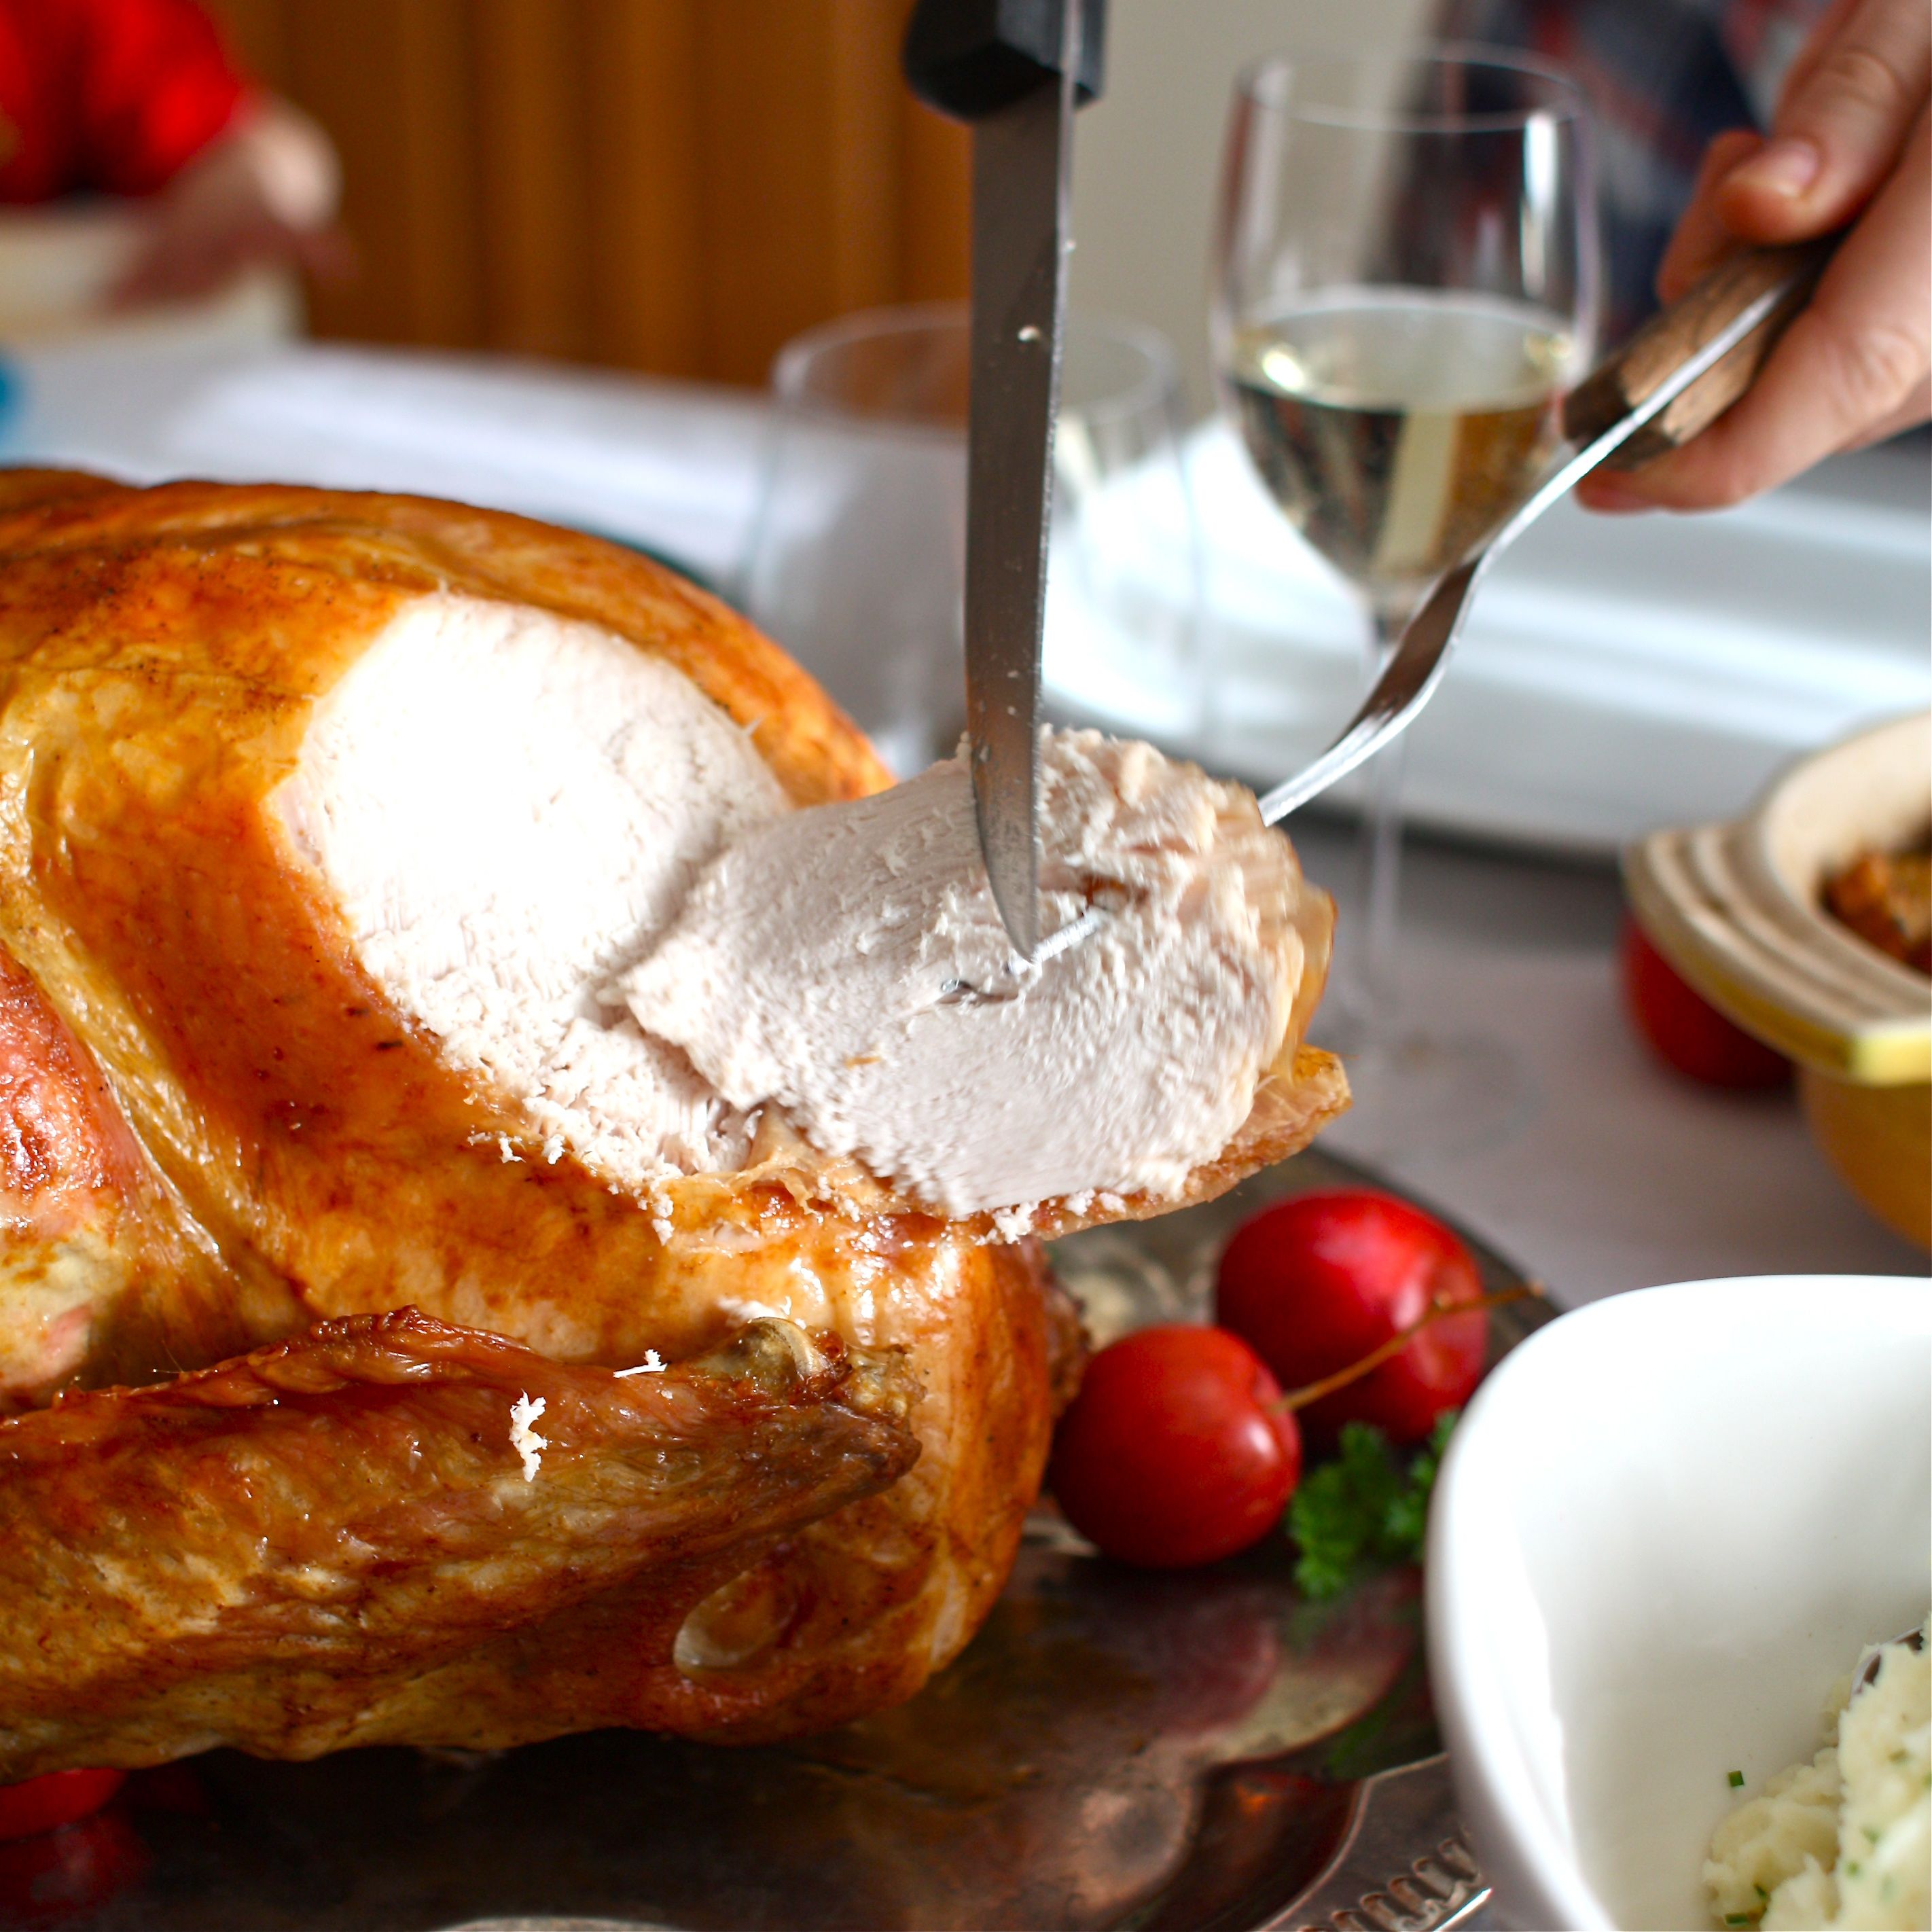
If you're sticking with the traditional method, steady the turkey with your fork and slowly and smoothly carve the turkey breast in downward-slanting slices. Start with a small slice, roughly the diameter of a soda can, and as you cut, the slices will get larger. As you are cutting periodically check to make sure that the slices are even and not thicker on one end or the other. As they come off the bird, stack the slices as neatly as possible on a serving platter. Sliced meat cools fast so serve it quickly or have some piping hot gravy on standby if things cool off.
Step Five
Repeat step four on the other side of the bird.
Step Six
Serve it up, say grace, and dig in with the satisfaction of knowing that you are the best carver at the table.